-40%
Replacement Rubber Plate (Die Plate) For Any Round Self Inking Stamp
$ 6.3
- Description
- Size Guide
Description
Replacement Rubber Plate For Any Round Self Inking StampQty 1 Custom Made Die Plate
We make replacement dies for your rubber stamps. You can easily replace your old rubber stamp plate.
Update your old self inking round stamp with a new replacement rubber plate.
This is for any self inking stamp up to 2" Round. Contact us for a quote on any larger die plates needed.
Please state brand and model number of stamp when ordering. If you do not know the brand name and model number of your stamper, you can measure that plastic rectangle base (not your current plate) and let us know the size of it.
Order Instructions: After you order, email us through the Ebay email system with your custom tet and/or logo that you want, and any instructions you think we would need, and we will email you a proof for your approval.
Don't forget a replacement Ink Pad!
===========
What is a replacement plate?
The die plate (or custom plate) is the rubber plate that has your custom text and/or graphics on it that makes the stamped impression once it is inked from the pad and stamped onto the printing surface. It can also be easily replaced if it is worn out or you simply want to change the custom text.
===========
How to Replace Self Inking Stamp Replacement Plates
Instructions on how to remove and replace printing die plates on any brand and model of self inking stamps.
Please follow these simple instructions to change your printing plate
1. With the front of the stamper facing you, press down the stamp until the plate area rotates and you can view the old rubber plate on the bottom of the stamper. If you have a make and model that has lock buttons, then simply hold down the lock buttons on both sides of the stamp and press top of stamp down. This will lock your stamp in a down position. The old plate is now visible.
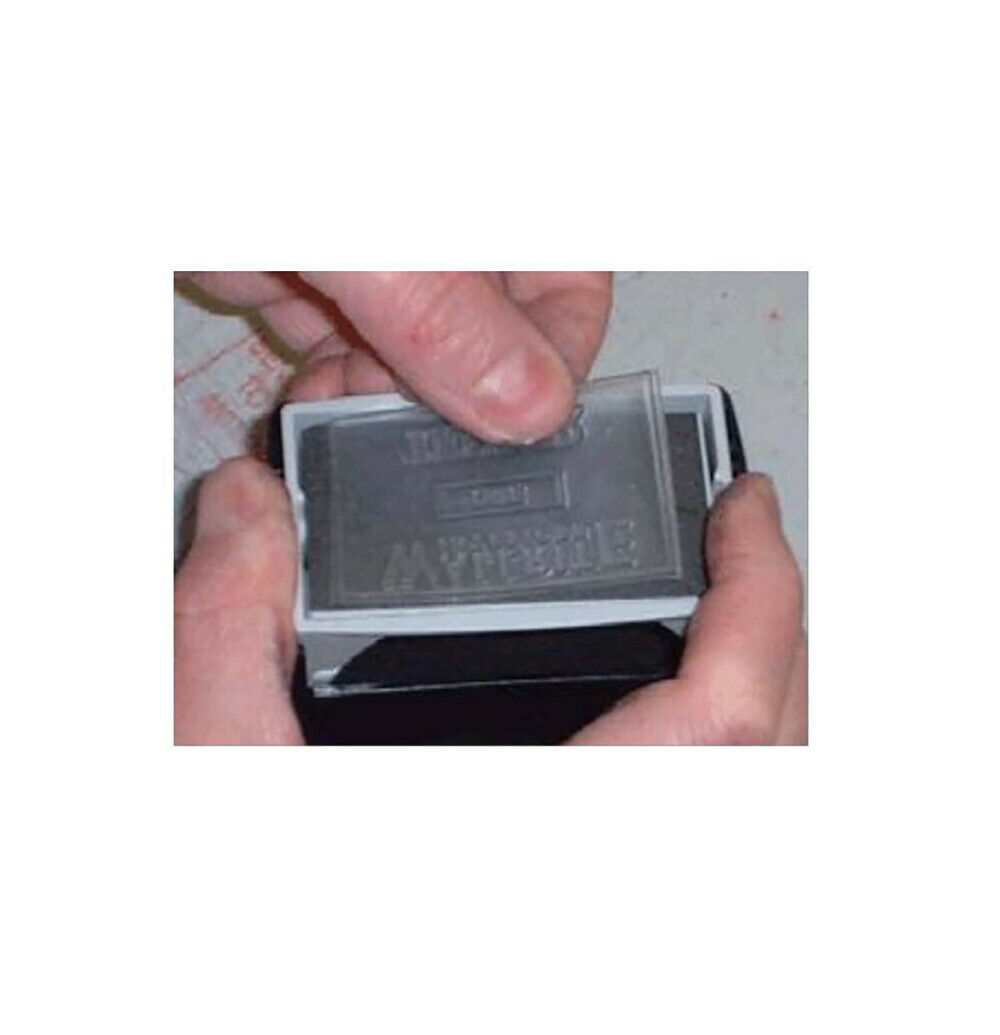
2. Hold the stamp in your hand with the front of the stamper facing you. Turn the stamper upside down so the front of the stamper is now upside down and facing away from you. Carefully and slowly peel off the old printing die. You can do this easily with your fingernail, a butter knife, or any other similar tool or object. To avoid inky fingers, you may wish to wipe off excess ink from the old printing die plate before you remove it from the bottom of the stamper.
3. Hold the new printing die plate so the words are readable. Flip the printing plate over (bottom line on top) centering the die plate and apply to the stamp pressing down firmly onto the adhesive. You may need to add a new piece of double sided tape if the old adhesive tape is not usable anymore.
4. Press stamp down to unlock if it is a lockable model as described in step number 1. If it is not a lockable model, then simply release the stamp to its normal non-use position.
5. Your stamp is now ready for use. After testing a few times, you can stamp the ID card, or a new small sheet of paper, and place it under the top window for stamp recognition.
